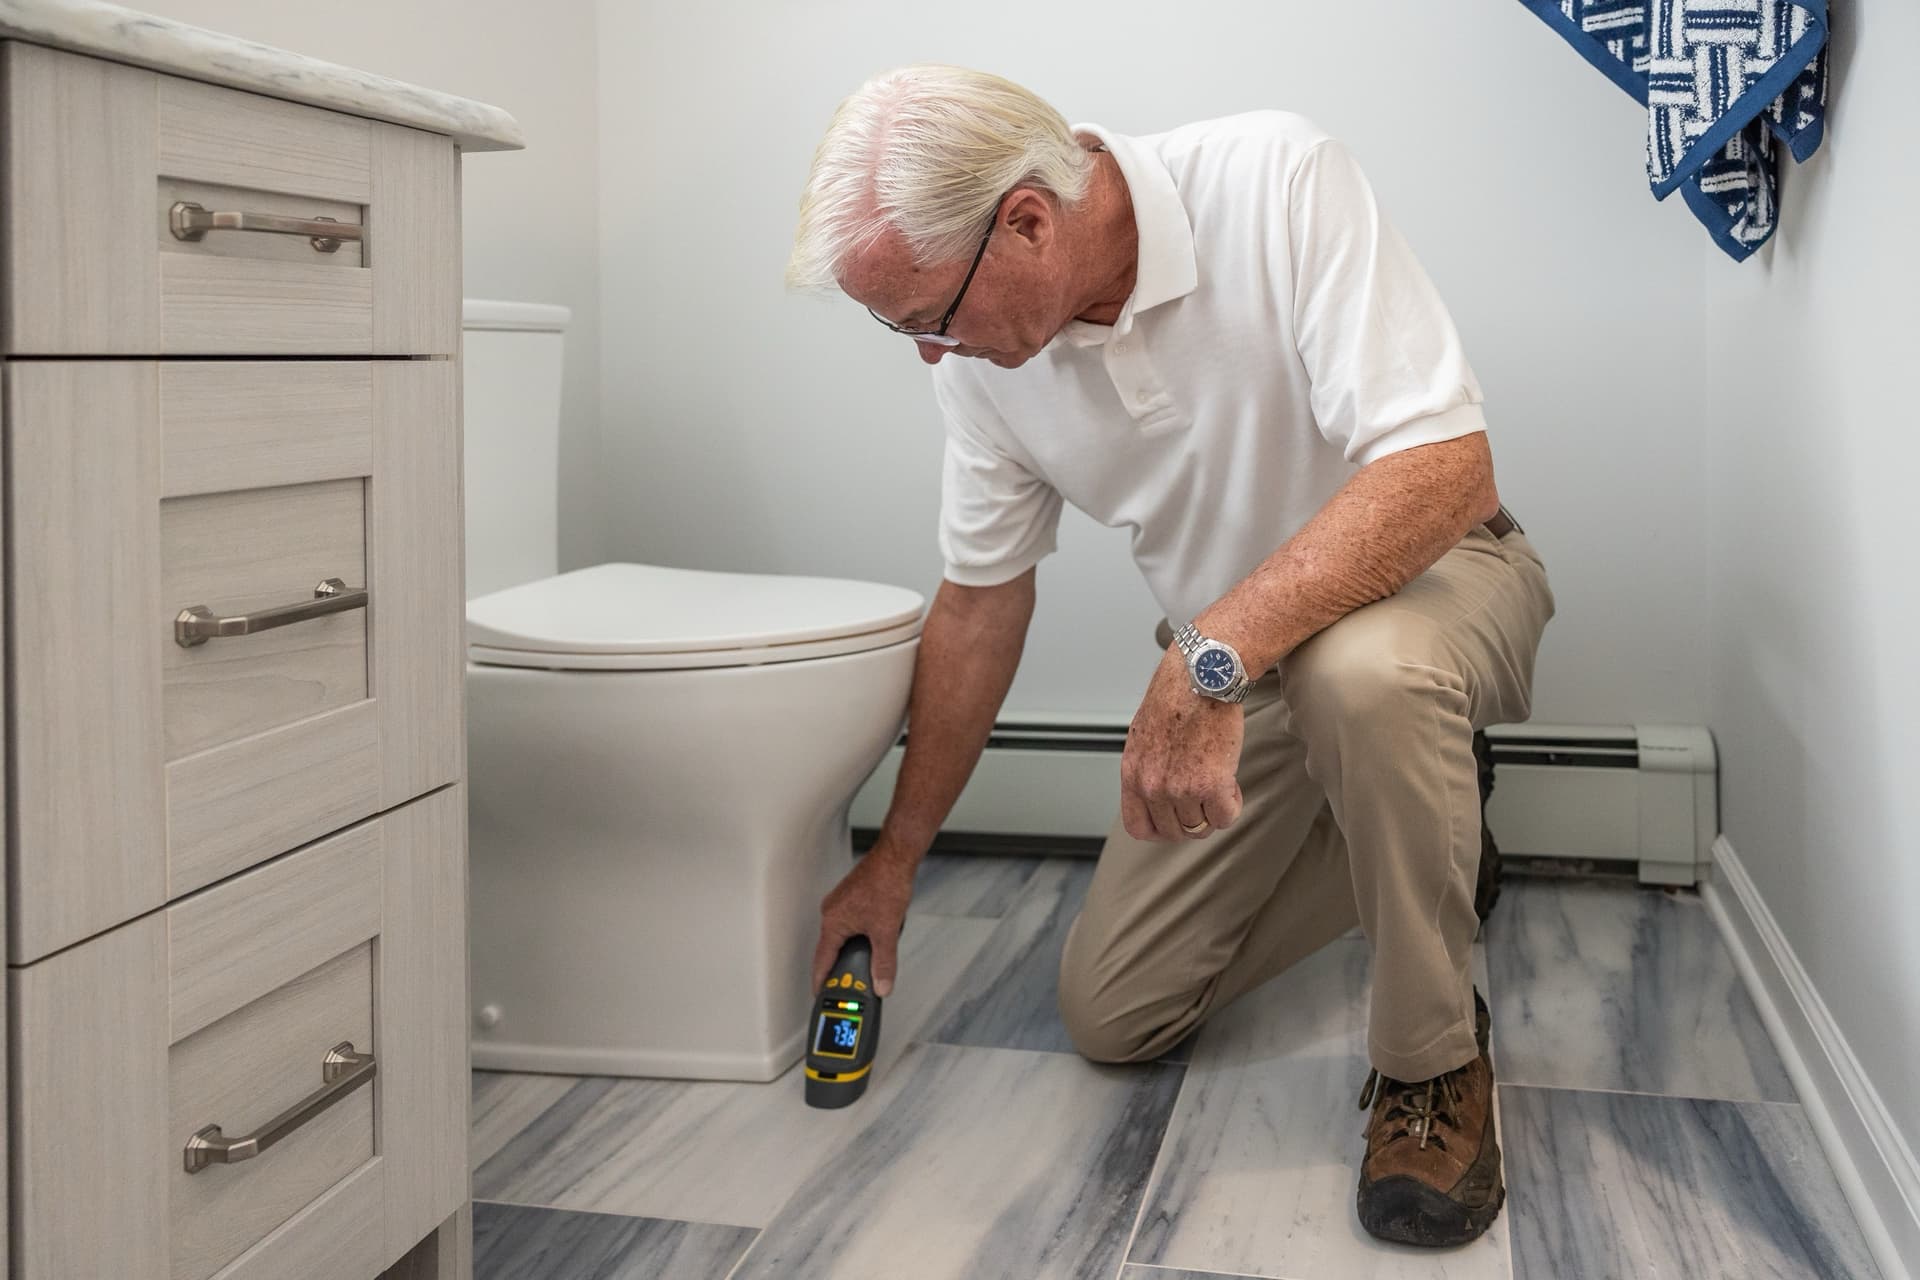
A water damage inspection establishes what happened, where the water traveled, which materials and assemblies were affected, and what remains unresolved. The first visit is especially important because extraction, demolition, drying, and repairs begin changing the evidence almost immediately.
The sequence below follows the initial-response framework in ANSI/IICRC S500: gather the loss history, complete a site-specific safety survey, verify the source, identify the extent of migration, make the preliminary determination of Category and estimate Class, identify pre-existing and secondary damage, and establish dry standards and drying goals. Although S500 assigns these activities to the restorer, the same investigative sequence remains useful after mitigation has begun; the file should identify what changed before the inspection and what original evidence remains. The issued standard, applicable safety rules, and site conditions control the work.
What the inspection should establish
A useful inspection file answers six questions.
| Question | What the file should show |
|---|---|
| What happened? | Reported date, circumstances, discovery, source, and work already performed |
| Is the source controlled? | Whether active intrusion has stopped and how that was verified |
| Where did the water travel? | Affected rooms, assemblies, cavities, levels, and adjacent areas |
| What are the water conditions? | Preliminary Category and Class and the facts supporting each |
| What was affected? | Material-specific observations, measurements, photographs, and quantities |
| What remains unresolved? | Inaccessible areas, conflicting evidence, needed testing, and required follow-up |
Uncertainty should be recorded, not filled with an assumption. If the failed fitting was removed before the inspection or a cavity could not be accessed, identify the limitation and the next step needed to resolve it.
Establish the loss history
Before collecting moisture readings, record the structure type and use; the reported source, date, and time of intrusion; when the condition was discovered; whether the flow was continuous or intermittent; the status of source control; the approximate affected area; known or suspected contaminants; prior water damage; affected materials; and relevant building or renovation history. Also document extraction, demolition, plumbing work, temporary repairs, or drying performed before the inspection.
These details can affect both the technical response and the claim. Policies may treat a sudden discharge differently from continuous or repeated seepage, and may distinguish rising surface water from rain entering through a storm-created opening. The inspector does not decide coverage, but the inspection should preserve the source and duration facts that will be compared with the policy.
Keep the source of each statement clear:
- Reported: information supplied by an owner, occupant, contractor, plumber, roofer, or another person.
- Observed: a condition the inspector personally saw.
- Measured: an instrument reading, dimension, quantity, temperature, or humidity value.
- Inferred: a conclusion drawn from identified facts.
- Not determined: a question that requires more access, information, testing, or expertise.
For example: Reported: a supply-line leak under the vanity was discovered at 6:30 a.m. and shut off shortly afterward. Observed: the vanity toe kick was swollen and staining extended into the hall. Measured: elevated readings continued six feet beyond the visible staining and were present in the shared bedroom wall. Inferred: migration likely extended beyond the visible finishes. Not independently verified: the replaced fitting was no longer available.
Complete the safety survey
S500 places a site-specific safety survey before the detailed inspection. A water loss may combine electrical, structural, biological, chemical, and fall hazards. Check for standing water near energized equipment; wet panels, outlets, fixtures, or appliances; sagging ceilings; unstable floors or stairs; gas odors or damaged fuel-burning equipment; sewage or floodwater; overhead debris; visible microbial growth; and materials that may contain asbestos or lead.
Do not enter standing water to reach an electrical disconnect. Isolate areas with structural instability, electrical hazards, or suspected hazardous materials and refer them to the appropriate qualified professional. If a hazard prevents access, identify the area, the reason it was not inspected, and the resulting limitation.
Verify the source and trace migration
Start near the suspected source: a plumbing connection, appliance, drain, condensate line, sprinkler component, roof penetration, flashing, opening, wall transition, or foundation condition. Photograph it in context and close up, and record whether it was active, repaired, inaccessible, or no longer present. S500 asks the restorer to verify the source of intrusion; it does not assign the restorer responsibility for diagnosing and correcting the underlying cause. If the cause is not established, say so.
Trace the water through the building. Gravity explains only part of the path. Water also moves laterally and through porous materials by capillary action, including behind baseboards, across subfloors, into wall cavities, between flooring layers, down framing, and through penetrations to the level below. Test outward from visible evidence until the apparent wet/dry boundary is established, and check adjacent rooms and levels where the assembly supports a possible migration path.
Record immediate secondary-damage concerns while they are still visible: contents resting on wet flooring, hardwood beginning to cup, wet insulation against framing, or a ceiling holding water. These conditions may change before the next visit.
Determine Category and Class
Category and Class describe different conditions.
| Topic | Category | Class |
|---|---|---|
| Question | What contamination risk does the water present? | What evaporation load do the wet materials create? |
| Scale | 1, 2, or 3 | 1, 2, 3, or 4 |
| Main inputs | Source and water quality after contact with site materials, including relevant time and temperature | Approximate amount and type of wet material remaining in the drying environment |
| Use | Contamination controls, worker protection, and remediation decisions | Initial drying and humidity-control approach |
Water categories
Under S500, Category 1 water originates from a sanitary source and does not pose a substantial exposure risk. Category 2 contains significant contamination and may cause discomfort or illness if contacted or consumed. Category 3 is grossly contaminated and may contain pathogenic, toxigenic, or other harmful agents. Its examples include sewage, waste-line backflows beyond the trap, seawater flooding, and rising water from rivers or streams.
The originating source begins the analysis but does not complete it. S500 directs the restorer to consider the source and the water's quality after it contacts materials at the site. Time and temperature can affect or retard contaminant amplification, so the preliminary Category may change as more information becomes available.
Weather-related water is not automatically Category 3. In a March 16, 2026 position statement, the S500 Consensus Body explained that top-down intrusion, wind-driven rain, and other weather-related water require a site-specific evaluation. The standard says Category 3 can include such water; the operative question is whether the water is grossly contaminated. Rain entering through a new roof opening presents different facts from rising floodwater that crossed a parking area or contacted sewage.
No S500 rule automatically changes Category at 24 or 48 hours. Elapsed time, temperature, and contacted materials still matter. EPA guidance recommends drying wet materials within 24 to 48 hours to reduce mold risk, and public-health protocols may use the same window when deciding whether to remove porous materials. Those response thresholds do not replace the site-specific Category determination.
When to involve an indoor environmental professional
S500 says an indoor environmental professional is unnecessary for most water losses but identifies circumstances that warrant one: high-risk occupants; elderly-care or childcare facilities, public buildings, or hospitals; likely adverse health effects; suspected contaminants requiring identification; contaminants believed to have been aerosolized; or a need to determine whether the water contains contamination. Record the referral as an open item rather than resolving it by assumption.
Water classes
Class describes the approximate evaporation load in the affected space.
| Class | General description |
|---|---|
| Class 1 | Wet porous materials represent less than approximately 5% of the combined floor, wall, and ceiling area, with minimal absorption into low-evaporation materials or assemblies |
| Class 2 | Wet porous materials represent approximately 5% to 40% of the combined area, with minimal absorption into low-evaporation materials or assemblies |
| Class 3 | Wet porous materials represent more than approximately 40% of the combined area, with minimal absorption into low-evaporation materials or assemblies |
| Class 4 | Significant water is deeply held or bound in low-evaporation materials or assemblies, such as plaster, wood, concrete, masonry, multilayer wallboard, or multilayer subfloors |
A small area of saturated hardwood over multilayer subflooring can present a Class 4 drying problem, while a much larger area of wet carpet over slab may be Class 3. Class is not a severity ranking.
Build a reproducible moisture map
The moisture map should identify the affected rooms or drying areas, adjacent unaffected areas, source or suspected origin, mapped wet/dry boundary, each reading location, material tested, initial reading, comparison reading or other dry standard, meter used, and subsequent readings. Use the same room, wall, and assembly names in the map, photographs, notes, estimate, and drying log.
An infrared camera is a screening tool. It shows temperature patterns that may justify further testing, but it does not detect water. Insulation gaps, air leakage, solar loading, HVAC effects, and concealed piping can produce similar patterns. Confirm an anomaly with a moisture meter or further investigation before recording the material as wet.
Pinless meters scan large areas and help trace apparent boundaries, but metal corner bead, piping, conduit, foil-backed material, and surface moisture can create false elevated readings. Penetrating meters provide localized readings and, with suitable probes, can reach framing, subfloors, and sill plates behind a finish.
Record what the number means. A meter calibrated for the tested material may report moisture content. A relative-scale reading, or a reading taken on material for which the meter is not calibrated, is comparative rather than a percentage. For every reading, record the meter make and model, configuration, material or setting, value, exact location, date or monitoring day, and relevant unaffected comparison.
Inspect assemblies and capture scope
Follow the water through the assembly rather than stopping at the visible finish.
| Area or assembly | What to inspect |
|---|---|
| Roof and upper envelope | Suspected opening, penetrations, flashings, transitions, drains, deck underside, attic insulation, framing, and interior path |
| Ceilings and walls | Staining, sagging, softness, seams, penetrations, baseboard, lower gypsum or plaster, sill plate, insulation, cavities, and opposite side where accessible |
| Floors | Finish, seams, transitions, pad or underlayment, subfloor, sleepers, slab or framing below, and material beyond the visible area |
| Hardwood | Moisture pattern, dimensional change, subfloor and perimeter conditions, and unaffected comparisons |
| Cabinets and vanities | Toe kicks, bottoms, sides, backing, wall behind, flooring below, countertop implications, and cabinet construction |
| Concrete and masonry | Exposure, adjacent materials, evaporation-restricting coatings, joints, and limits of the measurement method |
| Attics and crawlspaces | Decking or subfloor, framing, insulation, plumbing and mechanical components, penetrations, and migration paths |
| HVAC and contents | Components contacted by water or contamination; contents in the migration path or blocking access |
Collect the dimensions and quantities needed to prepare a scope: room length, width, and height; affected floor area; baseboard length; wall and ceiling dimensions; migration height; cabinet dimensions; material thickness and layers; floor and underlayment construction; insulation type; removed-material quantities; and relevant transitions, openings, and penetrations. If the material cannot be reliably identified, photograph it and flag it for follow-up.
Document the evidence before it changes
Photograph conditions before extraction, demolition, material removal, or repair whenever emergency response and safety allow. For each affected area, capture:
- Orientation: exterior elevation, floor, or room.
- Overview: the full area before material or contents are moved.
- Source: suspected origin in relation to the surrounding assembly.
- Condition: medium and detail views of staining, swelling, delamination, deterioration, or contamination.
- Measurement: meter reading or dimension tied to a labeled material and location.
- Hidden conditions: evidence exposed during authorized removal or invasive inspection.
- Comparison: relevant unaffected material.
- Limitations and prior conditions: blocked, unsafe, or inaccessible areas and observations that may predate the reported event.
Record pre-existing staining, corrosion, decay, patches, sealant failure, efflorescence, existing floor deformation, deteriorated cabinetry, or established microbial growth separately from current-loss observations. A condition may be consistent with prior wetting without proving its timing or source. Identify the observation, the measurement, and any supported inference.
Monitor drying against a defined standard
The initial inspection establishes the baseline. On later visits, measure the same labeled points with the same instrument, material setting, and configuration wherever practicable. A Day 3 reading is useful only if it can be compared with the same point and method from Day 1.
There is no universal moisture percentage that means every material is dry. Use comparable unaffected material in the same structure as the primary reference, together with the instrument manufacturer's guidance and project conditions. Record temperature and relative humidity during active drying.
Water damage inspection checklist
Loss, safety, and source
- Inspection date, time, inspector, property, and claim information recorded
- Reported loss, discovery time, duration, and prior water history documented
- Source-control status and pre-inspection work documented
- Customer priorities and concerns noted
- Site-specific safety survey completed and unsafe areas identified
- Source or suspected source photographed in context and close up
- Reported, observed, measured, inferred, and unresolved information separated
Migration and classification
- Affected rooms, levels, adjacent areas, and assemblies checked
- Wet/dry boundaries mapped
- Immediate secondary-damage concerns recorded
- Preliminary Category and supporting conditions documented
- Preliminary Class documented where applicable
- IEP referral considered where elevated-risk conditions exist
Moisture and scope
- Reading points labeled consistently across map, photographs, and notes
- Material, meter, configuration, setting, value, and comparison recorded
- Thermal anomalies confirmed before being recorded as wet
- Floors, walls, ceilings, cabinets, and concealed layers inspected as assemblies
- Attic, crawlspace, HVAC, contents, and adjoining areas checked where relevant
- Dimensions, quantities, layers, and transitions captured
Claim record and follow-up
- Orientation, overview, source, condition, measurement, and comparison photographs captured
- Conditions documented before demolition where practicable
- Hidden and pre-existing conditions documented separately
- Inspection limitations and unanswered questions listed
- Specialist evaluation, testing, reinspection, or monitoring identified
- Monitoring uses the same reference points and appropriate dry standard
FAQ
What is the difference between Category and Class?
Category describes contamination risk and is numbered 1 through 3. Class describes the approximate evaporation load and is numbered 1 through 4. A small contaminated loss may be Category 3 and Class 1; a large sanitary-water loss involving saturated hardwood may be Category 1 and Class 4.
Is storm water always Category 3?
No. The S500 Consensus Body confirmed in March 2026 that weather-related water is not automatically Category 3. Inspect the source, migration path, contacted materials, and actual contamination conditions.
Does water automatically change Category after 24 or 48 hours?
No. S500 treats time and temperature as relevant factors, but it does not impose an automatic clock. The 24-to-48-hour guidance addresses rapid drying, mold risk, and, in some protocols, removal of wet porous materials.
What moisture reading means a material is dry?
There is no universal number. Compare the affected material with an unaffected area of the same material using the same meter and setting, and interpret the result under the manufacturer's guidance. Do not label a relative reading as a moisture-content percentage.
Water damage inspections and Frontera
Inspection photographs, measurements, and material findings should remain tied to the rooms and assemblies they describe. Frontera's Estimating tools include a guided inspection workflow that keeps room-level photographs, moisture readings, materials, dimensions, and scope details connected from the first visit through estimate review. The tools can organize that evidence, compare scopes and estimates, and identify quantity and pricing differences. For coverage questions involving water, seepage, surface water, mold, and resulting damage, use the Ensuing Loss Clause Guide together with the issued policy.
Frontera does not make the S500 preliminary determination or replace field judgment. The responsible professional must verify the site conditions, classification, and resulting scope.
References
- ANSI/IICRC S500, Standard for Professional Water Damage Restoration, Fifth Edition (2021)
- ANSI/IICRC S500 Consensus Body, Position Statement: Category of Water Damage and Weather-Related Events, March 16, 2026
- U.S. Environmental Protection Agency, A Brief Guide to Mold, Moisture and Your Home
- U.S. Environmental Protection Agency, Flood Cleanup to Protect Indoor Air and Your Health
- Centers for Disease Control and Prevention, Safety Guidelines: Reentering Your Flooded Home
- Massachusetts Department of Public Health, Use of Moisture Measuring Devices for Evaluating Water Damage in Buildings
- Building Science Corporation, BSD-138: Moisture and Materials
- FLIR, Flood and Leak Remediation: Make Sure You're Ready
- Accuserve, What Is a Moisture Map and Why Is It So Critical When Drying Structures?
- Accuserve, Why Penetrating Moisture Meters Are Best
This article is for educational purposes and does not constitute legal, engineering, environmental, safety, or restoration advice. Site conditions, applicable standards, policy language, and governing law vary. Consult qualified professionals regarding a specific loss.